COMP SCI 180
Project 2
Finite Difference Operator
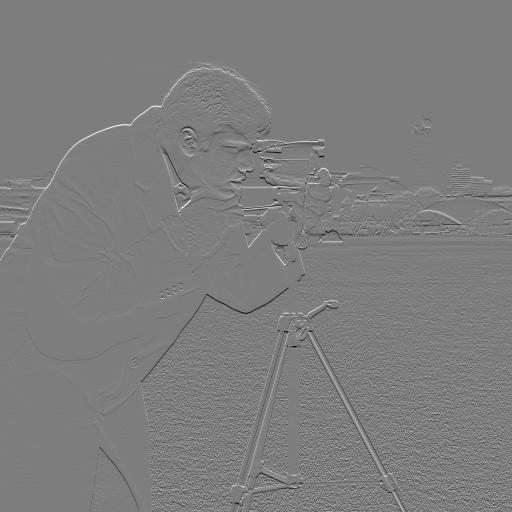
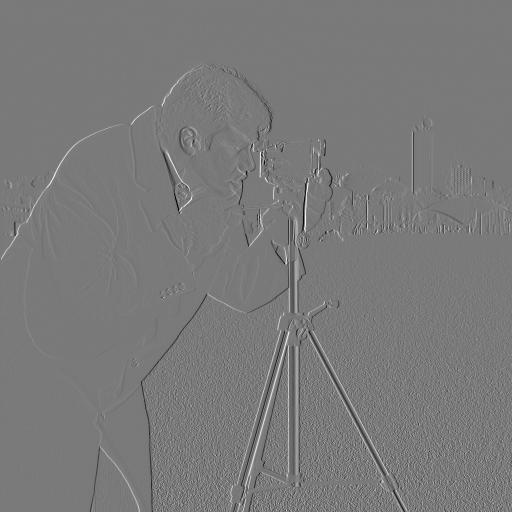
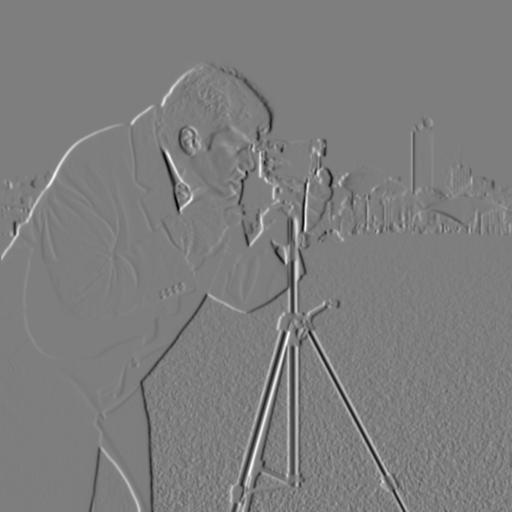
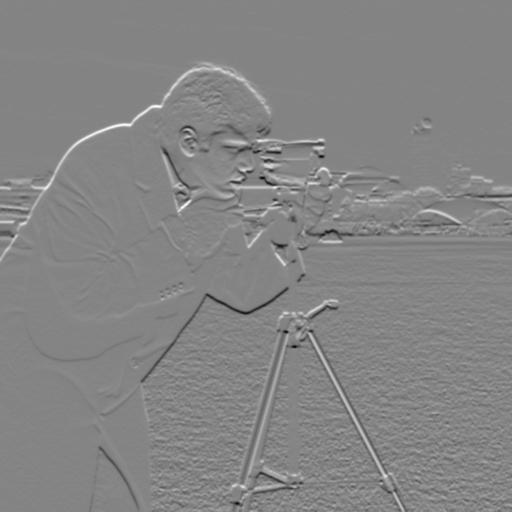
A finite difference operator is used to used to approximate the partial derivative of an image. (D_x computes how pixel values change moving horizontally, and D_y computes how pixel values change moving veritcally.) We used these difference operators to convolve the original image to produce images of the two partial derivatives, using scipy.signal.convolve2d with mode='same’.
Partial Deriv. in X:
Partial Deriv. in Y:
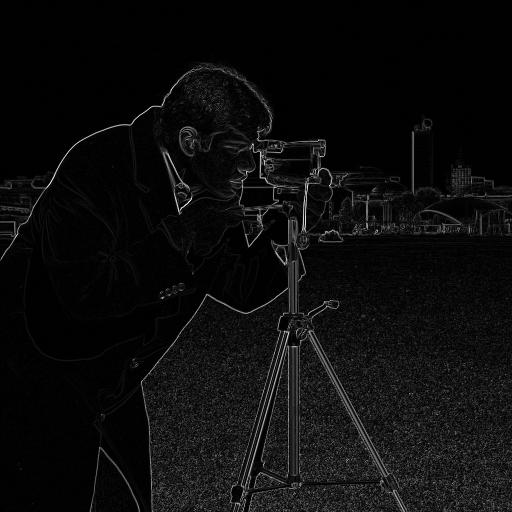
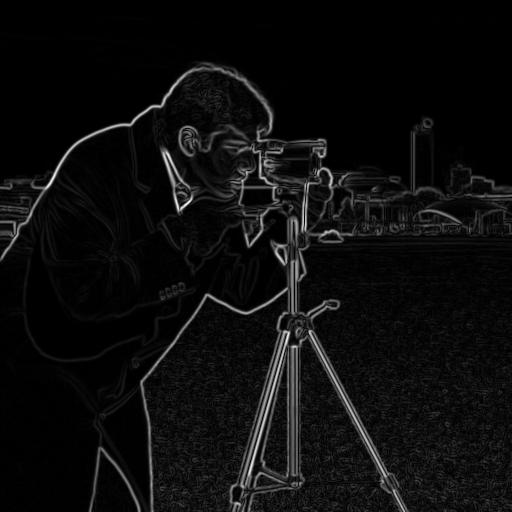
Then, we used these two partial derivative values to calculate the gradient magnitude using np.sqrt(dx_deriv ** 2 + dy_deriv ** 2), which shows us the rate of change of intensity in an image at each pixel.
Gradient Magnitude:
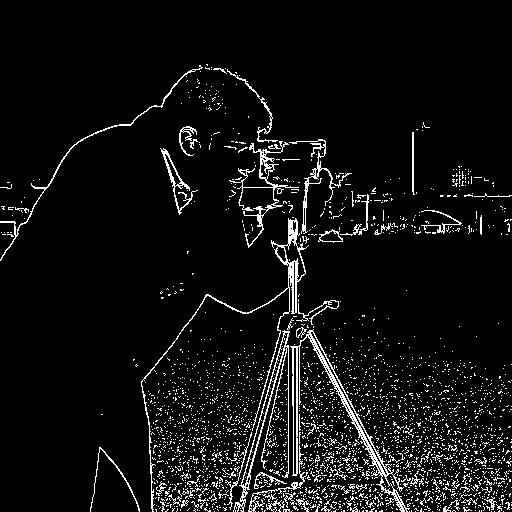
Lastly, we created an edge image. We did this by applying a threshold to the gradient magnitude image to create a binary edge map. Pixels where the gradient magnitude is above the threshold are considered edges, and those below the threshold are considered non-edges. After some experimentation, I found that the threshold = 0.22 seemed to be pretty effective, making the edges pretty clear while suppressing some of the noise.
Binarized Image:
Derivative of Gaussian Filter
However, there was still some noise in the edge image we created above. So, we can use a Gaussian filter using cv2.getGaussianKernel to blur the image before going through the same procedure above of finding the partial derivatives and gradient magnitude. The results were an edge image with more smoother, cleaner, and thicker lines, and much less noise. There are also definitely more edges of the man’s face and camera. For my Gaussian filter, I used a sigma of 1.0, and a kernel of size int(6 * sigma) + 1. I used a threshold of 0.05.
Partial Deriv. in X after Gaussian:

Partial Deriv. in Y after Gaussian:

Gradient Magnitude after Gaussian:
Binarized Image after Gaussian:

Next, we created a Derivative of Gaussian filter to perform the same process, but in one step. Instead of applying the Gaussian blur and then the derivatives separately, we combined the two steps by convolving the Gaussian filter with D_x and D_y to find the DoG filter, which we can then use on the original image. I also used a threshold of 0.05 for this. This yields essentially the same result more efficiently. (DoG could also lead to more precise edges, but to the bare eye, the images look pretty identical.)
Partial Deriv. in X with DoG:
Partial Deriv. in Y with DoG:
Gradient Magnitude with DoG:

Edge Image with DoG:
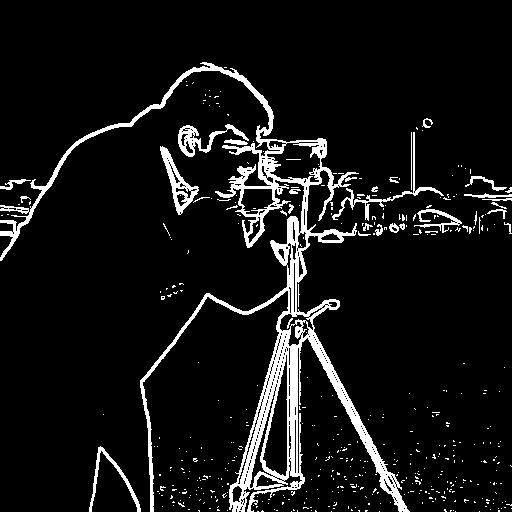
Image Sharpening
In order to sharpen an image, we used a Gaussian filter to find the low frequencies of an image, and then subtracted the low frequencies from the original image to get the high frequencies of the image. Basically, original_image - blurred_image = high frequencies. Then, we added a certain amount of the image’s high frequencies to the image with original_image + alpha * high_frequencies = sharpened_image. This makes the image look sharper, since high frequencies represent more abrupt changes in the image. Higher alpha results in a sharper image.
Before:
After (alpha= 10):
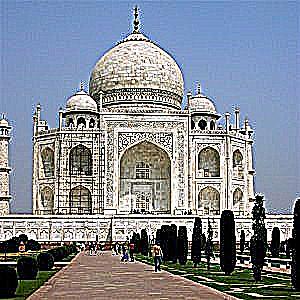
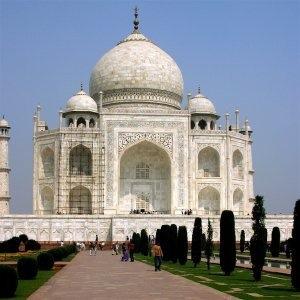
Re-Sharpening a Blurred Image: The image of this landscape was first blurred using a Gaussian filter with sigma= 5.0. Then, we tried to re-sharpen it using a huge alpha (alpha = 100). However, the re-sharpened image still turned out very blurry. This is because the process of sharpening the image relies on the high frequencies of the original image. Since our original image was already blurry, this means that even the higher frequencies of our original image were low.
Original:

Blurred:

Resharpened:
Hybrid Images
Hybrid images are images that look different based on the distance from which you are viewing the image. High frequencies, which allow us to see details of an image, dominate our perception when we are close up to the image, while low frequencies, which are the smooth part of an image, dominate when we are farther away. Combining the high frequencies of one image and the low frequencies of another results in a hybrid image that looks different based on where we are looking at it.
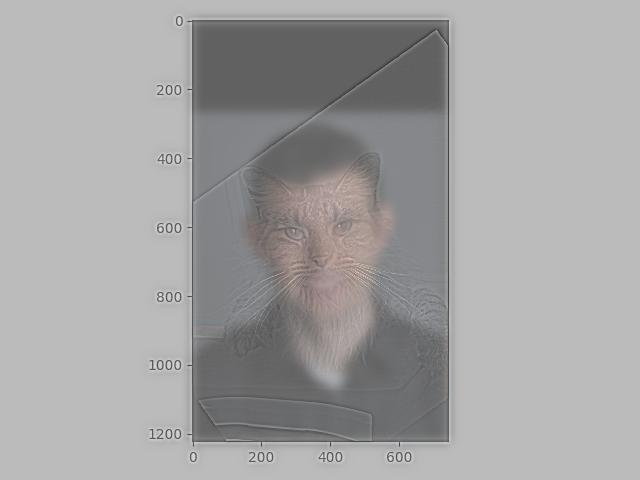
Then, to combine the high and low frequencies into one image, I took the average of the two images. I found that my high pass image was still a bit difficult to discern when looking close up, so I then changed my averaging formula to weight the high frequencies a bit more when combining the two images.
hybrid = (0.7*low_freq_image + 1.3*high_freq_image) / 2.0
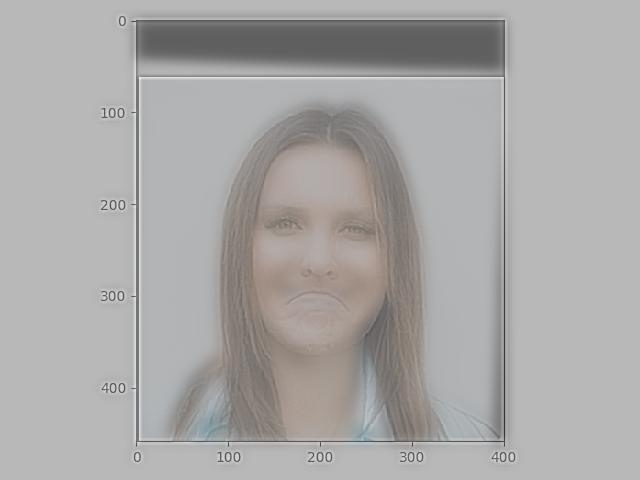
Low Pass on Derek:

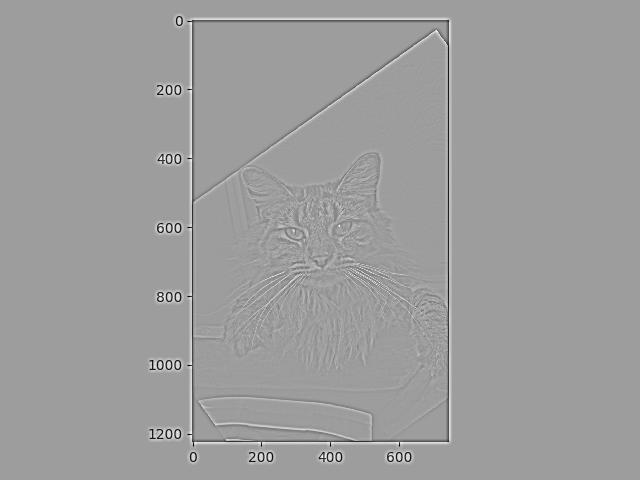
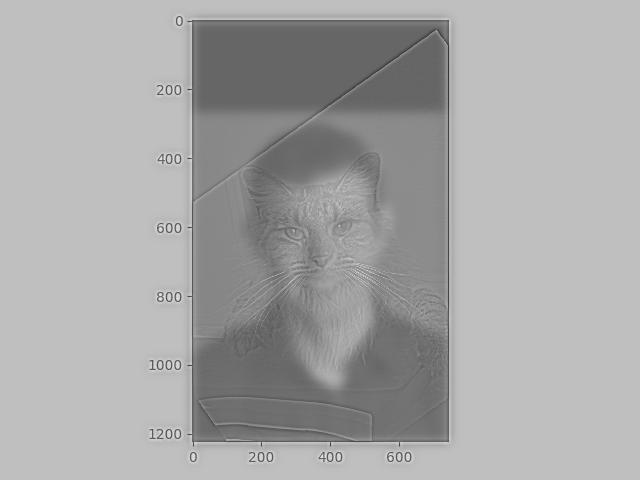
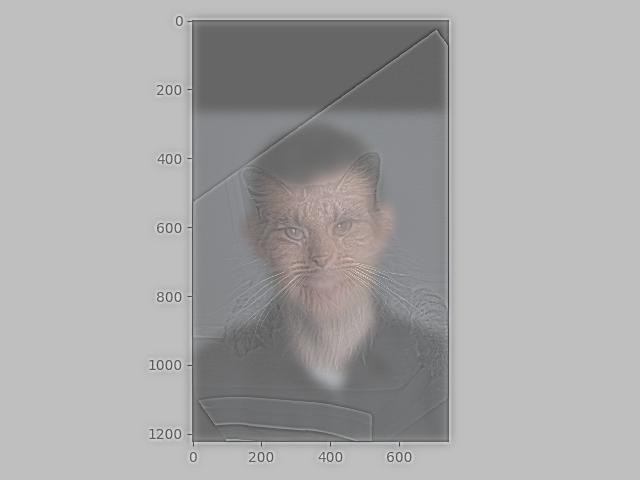
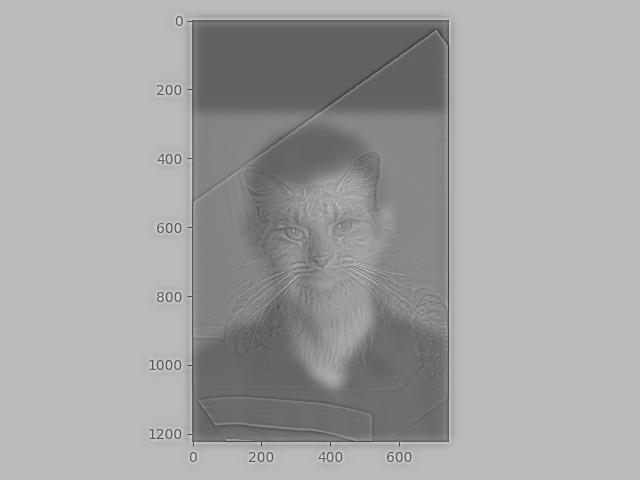
High Pass on Cat:
Hybrid:
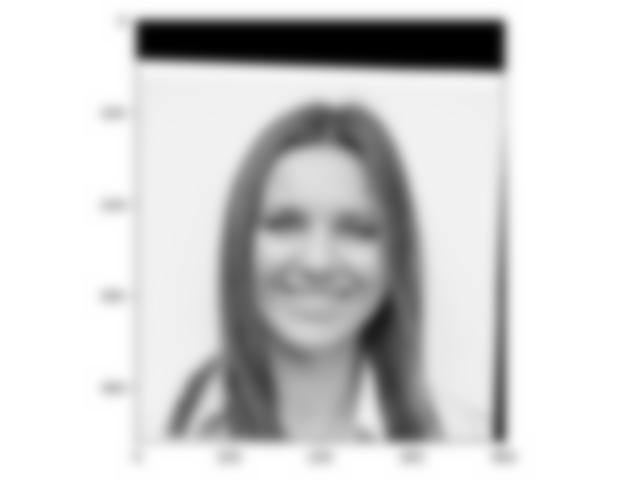
Low Pass on Smile:
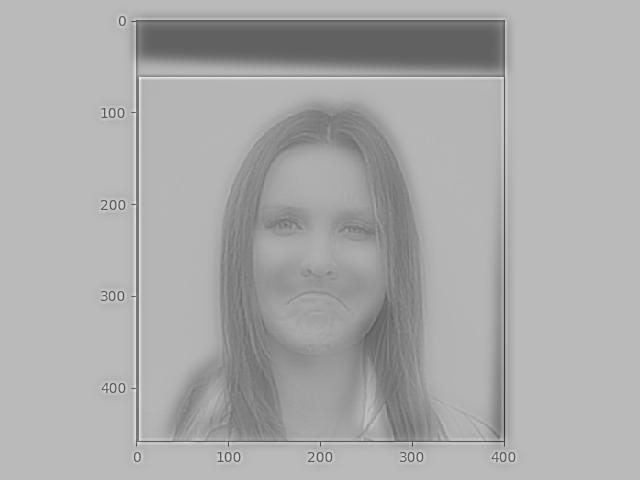
High Pass on Frown:

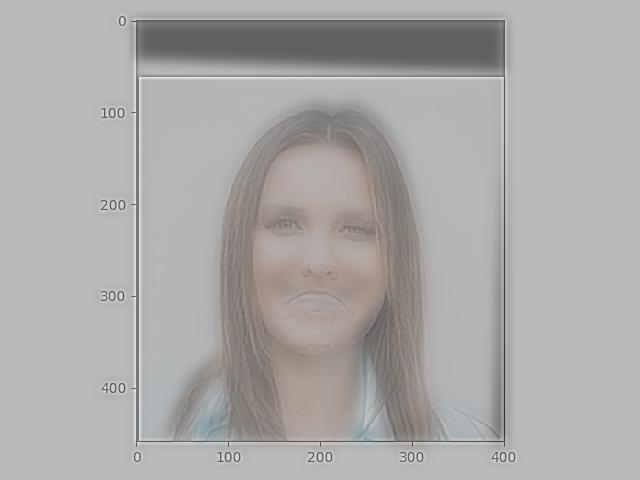
Hybrid:
Additionally, we can try using color to enhance the hybrid effect. I found that with all my hybrid images, the worst outcomes came from colorizing the low pass image. I think that this could be because when we have images in color, edges could be emphasized more. This could be why having the low frequency image in color does not work well— when the low frequency image is in color, this might make the blurry image more see-able even when we are up close, since its color might be overtaking the high frequency image.
Colorizing just the low pass image:
The best cases usually came from either colorizing the high pass images, or leaving both of them gray.
Colorizing just the high pass image(the color in the high pass image is subtle but there):

When both images are in color, we seem to have the same problem as when we only colorize the low pass image.
Colorizing both images:
I tried to make a hybrid of a pizza and a watermelon, with the watermelon being high pass filtered and the pizza being low pass filtered. This hybrid did not work out so well, which I think was due to the fact that the watermelon’s edges were extremely defined, and it was smaller than the pizza. Even after experimenting with many different sigmas, the watermelon’s edges were still visible inside the pizza at all distances. The same issue persists across all color combinations, but is especially apparent when colorizing the low pass.
Low Pass on Pizza:
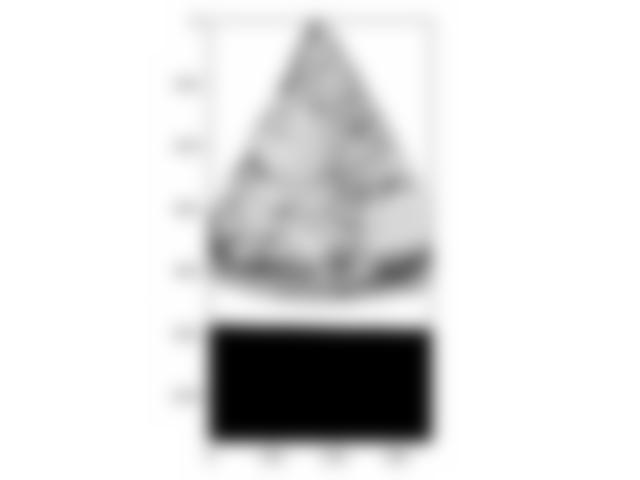
High Pass on Watermelon:
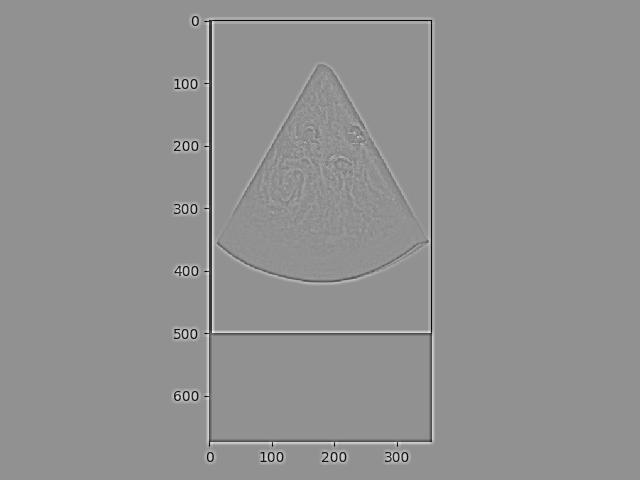
Hybrid:
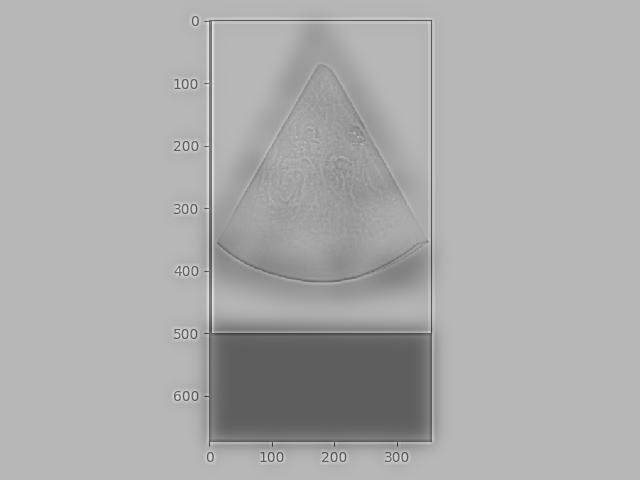
Colorizing just the low pass image:

Colorizing just the high pass image:
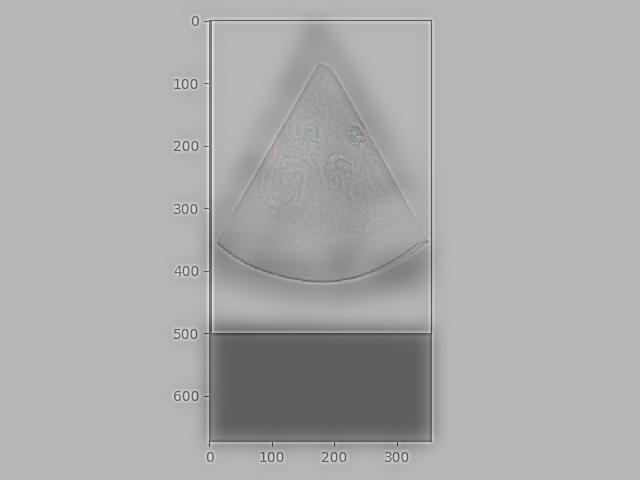
Colorizing both images:

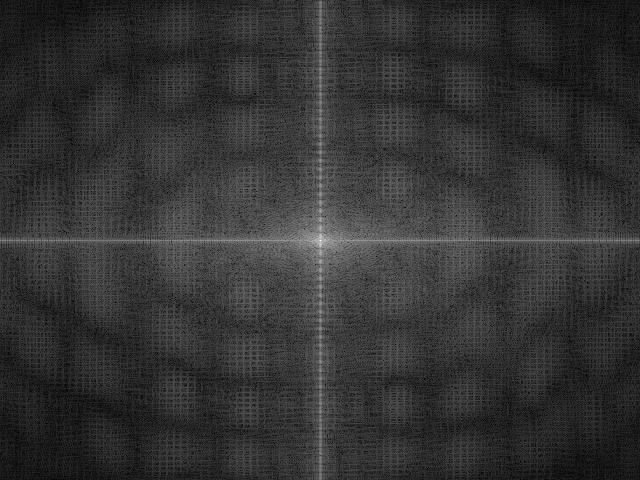
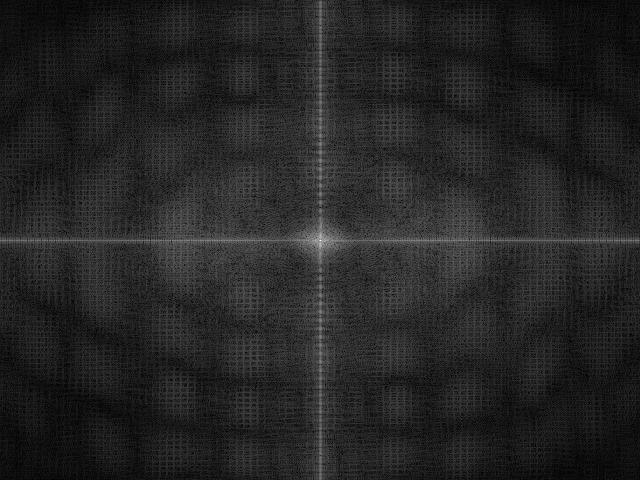
For my Smile/Frown hybrid, I applied Fourier transforms to the original images, the filtered images, and the final result. For this, I took the log magnitude of the Fourier transform of the two input images, the filtered images, and the hybrid image.
Frown Frequency:
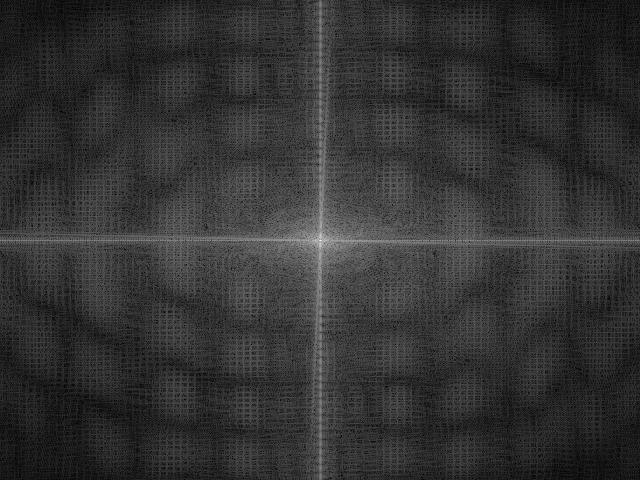
Smile Frequency:
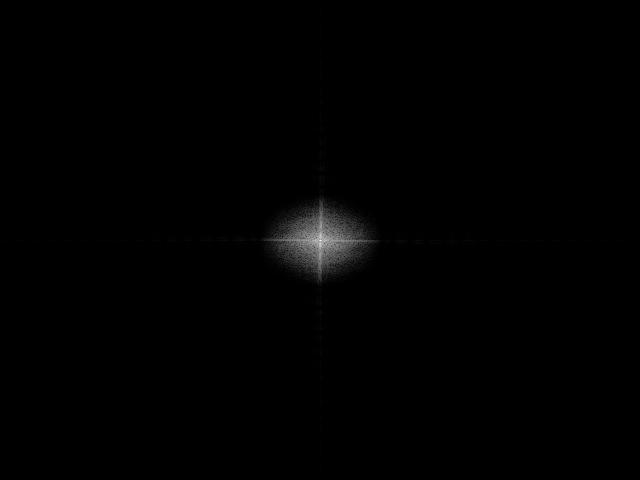
Smile after Low Pass:
Frown after High Pass:
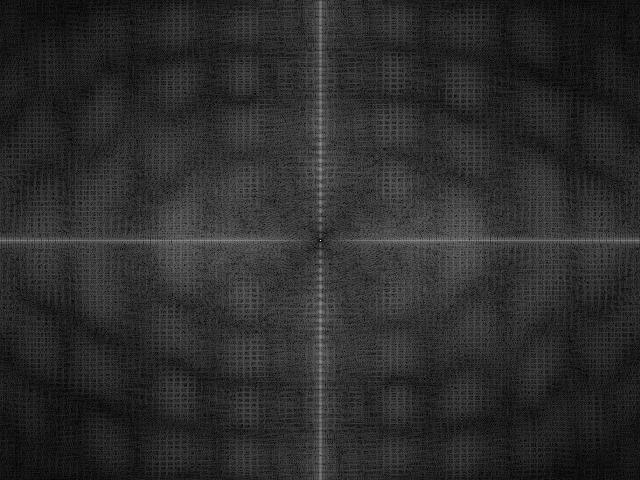
Hybrid:
Multi-Resolution Blending
Step 1: Gaussian and Laplacian Stacks
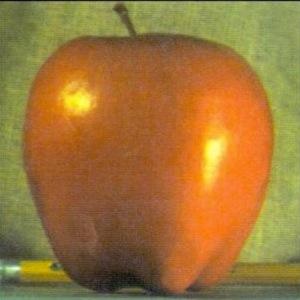
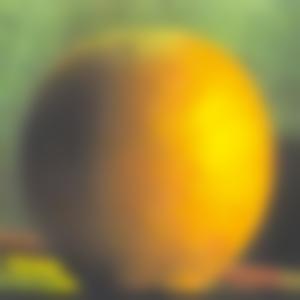
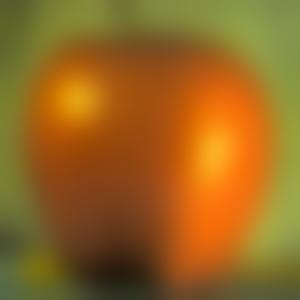
To create a Gaussian stack, we simply apply the Gaussian filter to each level of the stack, such that each level is blurrier than the next. The way I did this was the take the previous image as the original image, and apply the Gaussian filter to it before appending it to my stack. Unlike the pyramid, we do not downsample.
Apple:


Orange:


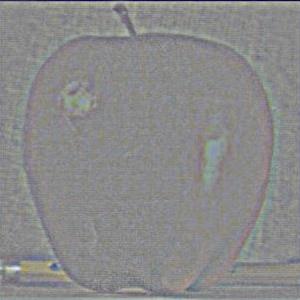
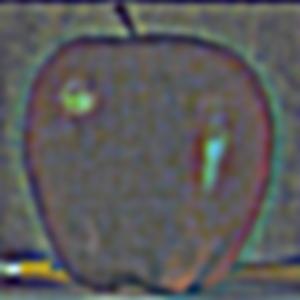
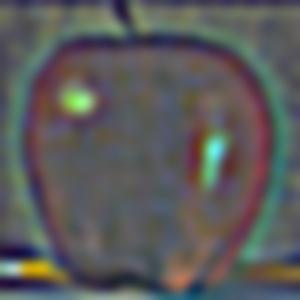
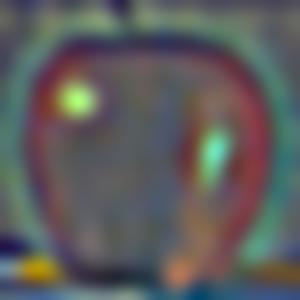
We can create a Laplacian stack by subtracting the Gaussian of an image from the previous image in the Gaussian stack. This difference between each level of the Gaussian gives us the Laplacian stack. The last level of the Laplacian is taken from the last level of the Gaussian, stacked on top, so they have the same number of layers.
Apple:

Orange:


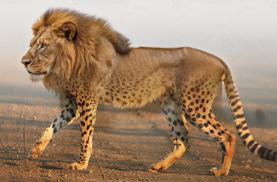
Step 2: Multi-Resolution Blending
Next, to blend two images together, we first want to create a mask in whatever shape we need. For the oraple, since we want to blend the two images with the apple on the left side and the orange on the right side, we can make a mask that has ones on one side and zeros on the other. Then, we can make a Gaussian stack of our mask, which will give us a stack of an increasingly blurrier mask. Then, we can apply this mask to our images, blending them with blended = laplacian_stack1[i] * mask_expanded + laplacian_stack2[i] * (1 - mask_expanded).
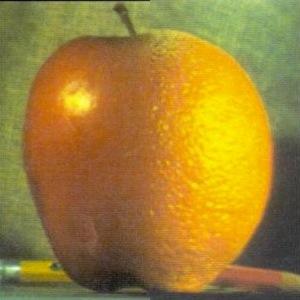
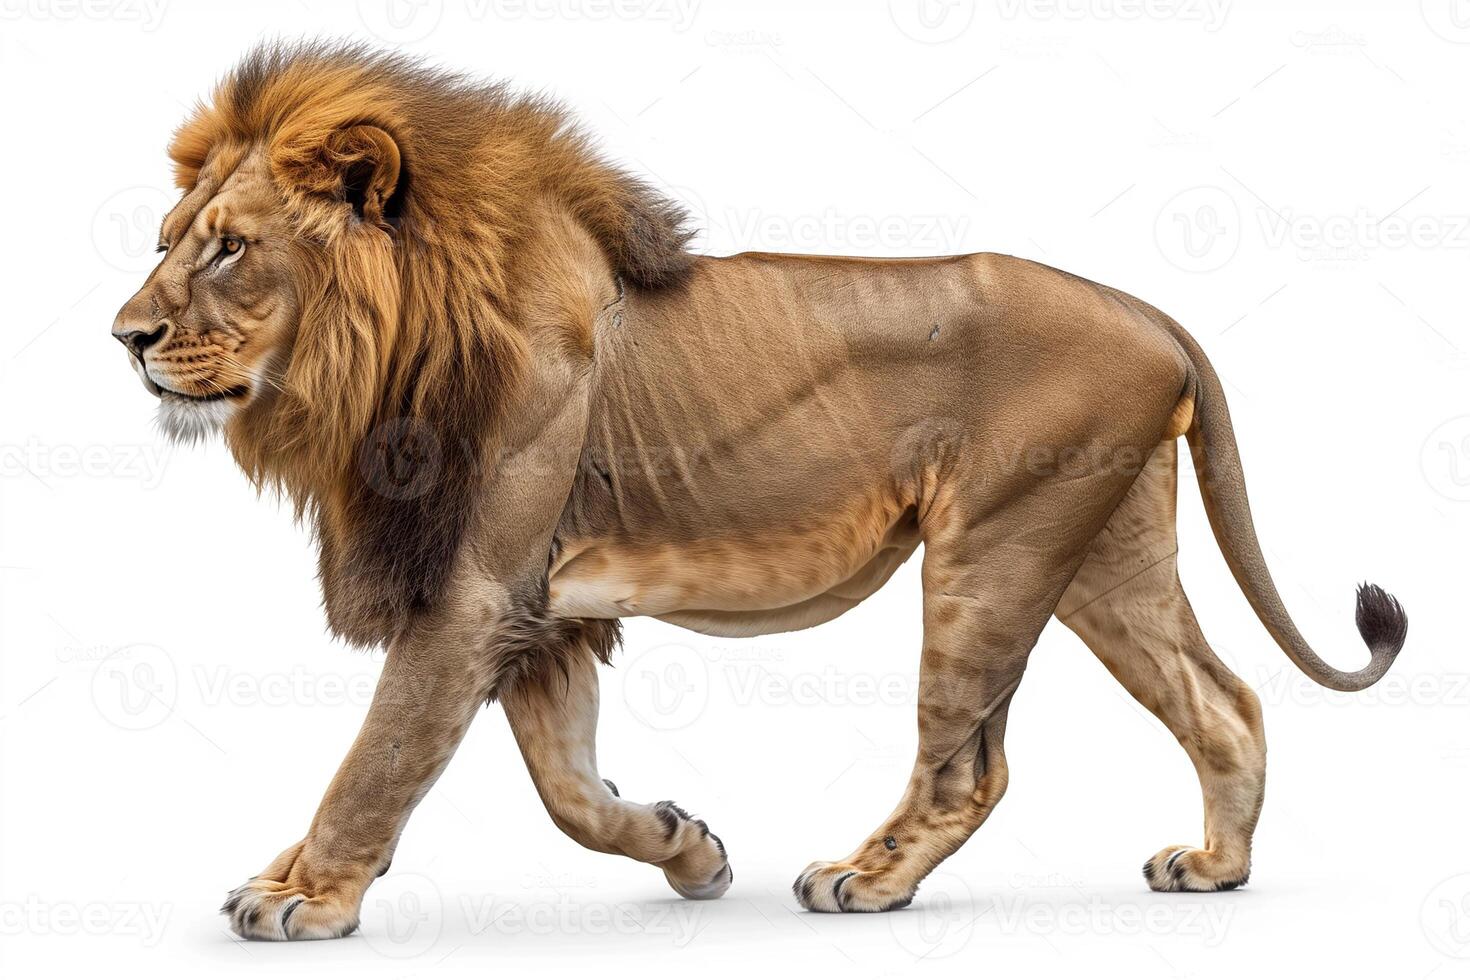
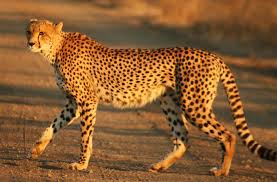
Lion + Cheetah:
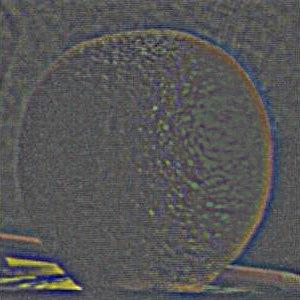
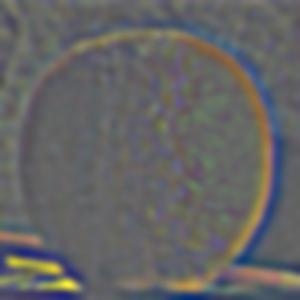
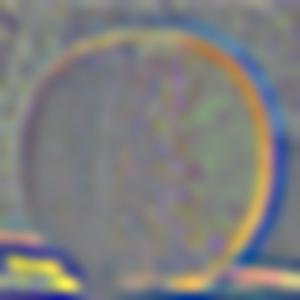
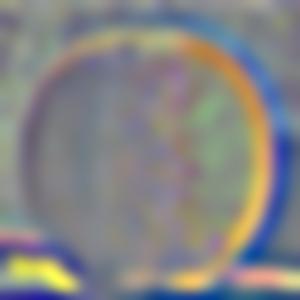
Sun + Basketball:


Most Important Thing I Learned:
The most important thing I learned from this project was a deeper understanding of high and low frequencies and how they affect what we see in an image. With this understanding, I learned how to create a Gaussian stack, and how it is related to a Laplacian stack. Now, I can apply these tools to make cool images like the hybrid image and the blended images. I now understand how to manipulate what frequencies we see in an image at certain distances, and I can use my understanding of frequencies/low/high pass filters to blend two images with various masks.